Saturday, December 23, 2017

moving on, not in


We won't be moving in to the new house by Christmas.

It wasn't for lack of trying,
I assure you.

Between life
and work
and illness,
there is just plain too much left to do.

We do have water in the house now,
not just to it.
And we even have a working toilet!!


We also have a functioning tub
and an almost functioning shower,
and should have a fully plumbed sink
complete with faucet by Sunday afternoon.


We have a water heater!

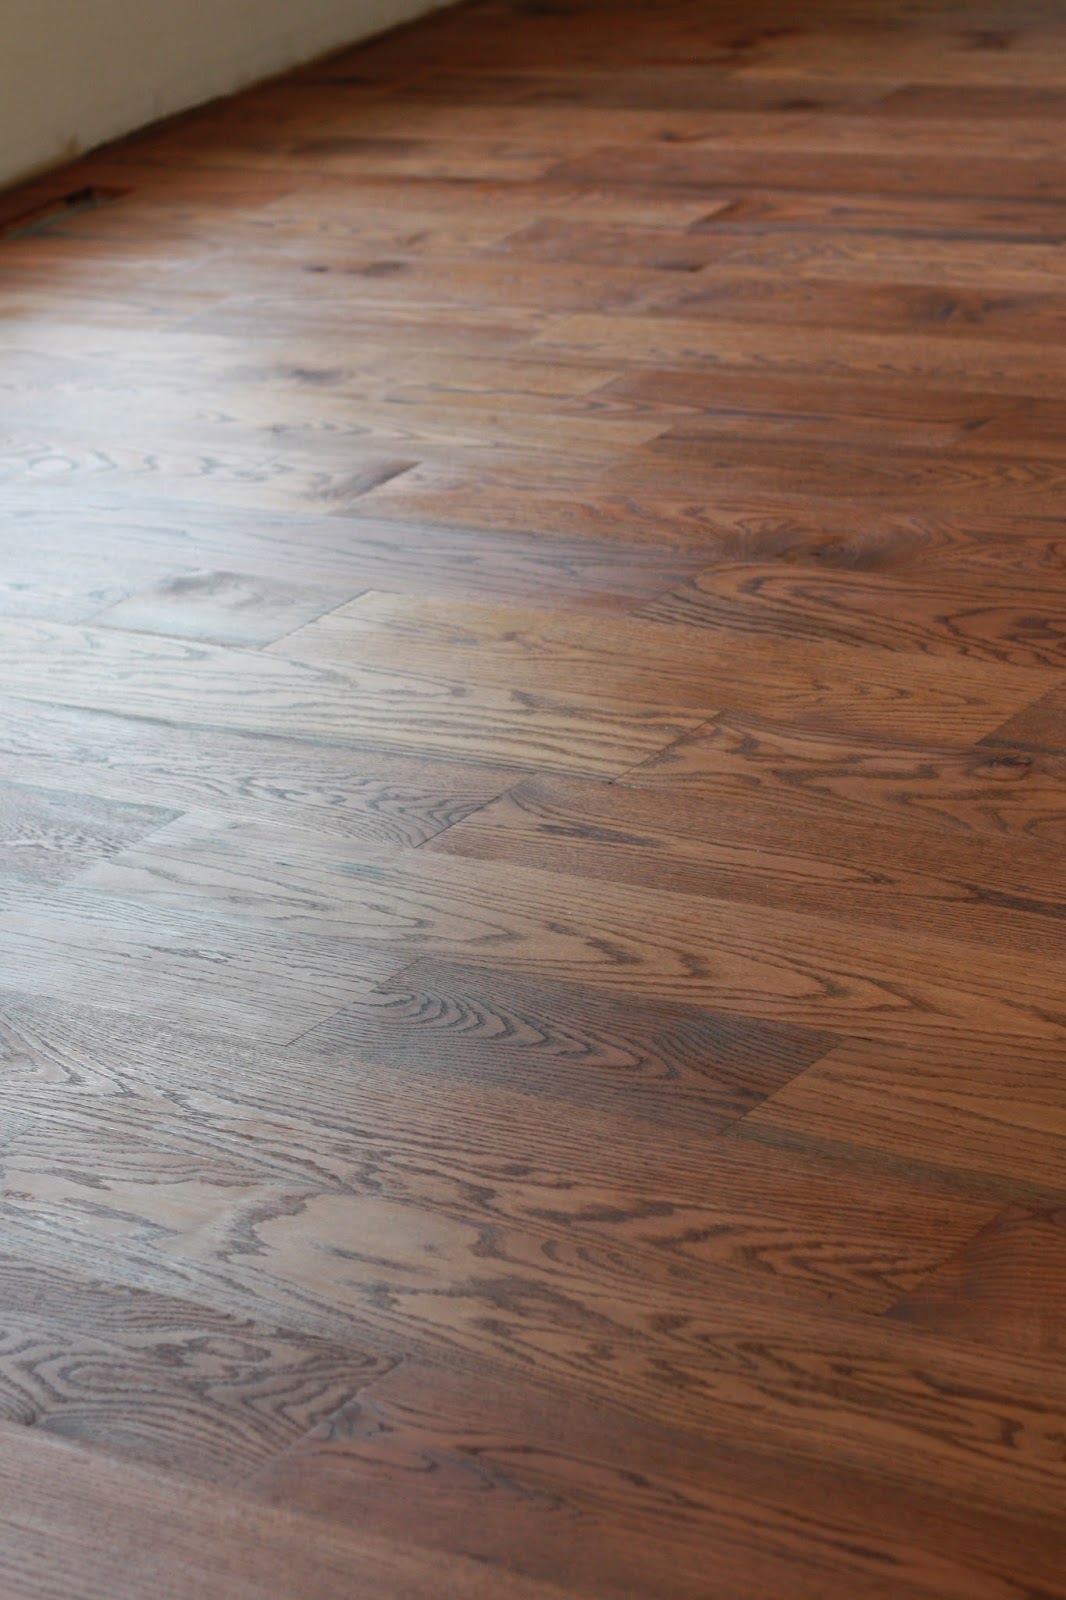
We have carpet upstairs,
and luxury vinyl plank flooring in 2 bathrooms.


as soon as the carpet installers left,
Josiah had the bag of bolts for putting together his
new to him loft bed that we purchased in the summer.

There are only 3 receptacles that still need to be wired
and all lights (that have been purchased) are installed.


The upstairs closets have custom shelving and rods


built by yours truly and the 3 youngest (but mostly Josiah),
though Tyler stepped in to help on one shelving unit
after somebody had a fit and mini-breakdown
(over what, exactly, I can no longer recall)
and quit temporarily.


We have a railing upstairs at the balcony
(but we still need to build the stair rails.)

obv. this was before install....

Kitchen cabinets are partly installed,
and we have all of our appliances
thanks to Black Friday sales.


We even have ice in the freezers.
Made automatically!
The kids are pretty excited about not having to 
crack and refill ice cube trays.

Little by little,
we're getting there.
We just aren't there yet.


We'll camp in it on Christmas Eve,
so the kids' dream of waking up in the new house
on Christmas morning
can still be a reality
even if we aren't actually living in it yet.
And we'll keep plugging away
until one day,
it'll be done enough
that we can move in.

when I saw this tree a month ago, I wanted it for the girls'room; I knew they
would love it! But funds are tight, as we pour everything into the house,
so spending $80 on trees for my kids' rooms (need one for boys, too...)
 wasn't really an option. Still, I thought about those trees a lot,
and really wanted to surprise the kids with them.
Yesterday, while at Walmart, grabbing a few things that I wasn't able to find
the night before, at a different WM, they announced over the loud-speaker that
all display trees were 75% off. I hightailed it back to the garden center, thankful.


Friday, December 22, 2017

a quilt for Corban K


This is my final 
sewing-machine-earner of the year.

It will be a young man's main Christmas gift,
so I'm thankful that I managed to squeeze in a finish
in the nick of time
(hee hee - Nick of time.
Saint Nick.....
bwahaha
oh - never mind.)


I've never been shy about my feelings
when it comes to making t-shirt quilts.

They are 
soooo
 not anywhere 
on my list of favorite things to make.

But
when that is how God chooses to provide me
with an opportunity
to earn money for another sewing machine,
I will gratefully cut up and stabilize the darn shirts
and make them into a quilt,
honored that folks see fit to trust me with their treasures.


I gave my client a generous
 'single moms are super heroes' discount,
because goodness
those gals have my sincere admiration!

I worked really hard to keep the materials cost
as low as possible,
but they still added up to $97.
Even so,
 I earned *almost* enough for 1 1/2 machines

When I add that to the money I had left 
I'll be able to give 2 😊


Instead of using interfacing,
after deconstructing the t-shirts,
I stabilized them with undiluted liquid starch
after doing a quick search to see if there was any reason 
that shouldn't be done.

After some    ummm    experimentation,
I arrived at a method 
which was ever so much less time consuming

I'm very pleased with the results of starch vs interfacing,
though in the future I would 
either triple-starch the thin super soft Old Navy shirts,
or go ahead and actually interface them 
instead of starching,
because they did want to move a bit still.


I spent hours trying to come up with the perfect quilting plan,
I knew I'd found it.
I added treble clefs 
and an occasional music note
to make it even more perfect.

After a bit of practice,
first with pencil and paper
and then the machine,
I loaded my machine (both needle and bobbin)
with Bottom Line #622
and started my workout quilting.


This quilt
was an absolute beast.
(before I had to take off the 2 1/2 inch outer border
(which I did after quilting)
due to some bad jujumagumbo,
it measured 88 x 110)


Because it was so heavy
(6.8 lbs after trimming!)
I couldn't make large movements at all
and had to quilt it twice as densely as I'd planned.


I bound it with this great stripe
which I thought finished things off really nicely.

I sewed it onto the back first, 
then pressed and glue-basted
and stitched it down to the front
by machine.


Thanks, Jessica, for partnering with me
to help change and save lives 💗
and trusting me with your boy's memories.


Linking up with Crazy Mom Quilts

Friday, December 8, 2017

popping in


just popping in to say
we are alive,
and ever so busy
living under the delusion
that if we work reaaaally hard
we might move in 
to the new house
by Christmas.
(and simultaneously finish 3 major quilting projects,
(2 of them commissioned)
and start and finish a 4th)

It could happen.

Thursday, November 16, 2017

the floors, they are finished! also - all about ME


When we set out to build a new house in our back yard,
I really had no clue
how,
exactly,
this was all going to work.


Obviously,
based on the bank account,
I knew that we would be doing a lot of the work.
But I sorta thought that 
"we"
meant what it's always meant
in these sorts of things;
"we"
meant Tyler and big kids,
with me holding down the fort,
and doing all sorts of running around 
and buying things.


Support.


It isn't that I thought woman can't build,
it's more that women don't build.
(as a general rule, mind you,
and certainly all of the women in my small circle...)

oil will continue to seep up,
so we'll go out 3-4 times a day for the next week to wipe it up

Tyler has a full-time job
(duh!)
and not only that,
he got promoted 
and moved to a new department
right around the time we started building,
which left him even busier at work than ever.

He simply wasn't home enough 
to do all of the building we thought he'd do.
and so,
I stepped in.


Every time there was a job that needed doing,
and I was the one available to do it,
I did it.


I worked with my dad,
whose graciousness and generosity towards us
knows no bounds.

I've worked with Brandon.

I've worked with My Love.

I've worked with all 3 of them together,
and with just my two men.


I've worked with Jeannie, and Eva, and Marin.

I've worked with all four of the younger kids,
together,
separately,
and in every imaginable combination.

And I've worked alone
far more than I'd have ever thought.


I've learned so much!

We've had some laughs.
and a few arguments
(really - only a few)
I've shed tears on many occassions
because I was in so much pain.
Or so overwhelmed with all we had left to do.
And let's be honest,
I've had some
'why do I have to be the only one who is working so hard'
pity parties.
(yes - I know how ridiculous that is.
just keeping it real, folks)

I've also had moments of euphoria
at a job well done,
and earned gobs of imaginary badges.


I'm not uber skilled or talented,
or knowledgeable.
I'm just a freakin' hard worker
(and I am highly motivated to get out of this house
and into my new one!)


From Friday afternoon to Tuesday night
I worked over 37 hours 
out in the house
on the floors
(sanding, staining, finishing with oil)

None of those hours were leisurely,
it was all hard, quick moving work.
Once you start putting stuff on your floors,
you can't stop 'til your done...

A lot of those hours were with Tyler,
some with the kids,
some with the whole family,
and a good chunk - alone


All of them added up 
to a pretty spectacular
(though quite far from perfect!) 
rustic floor.


At some point, I'll post a little more of the process
- what we did,
and what we wish we'd done -
both for our reference,
and also for anybody who is looking to 
stain and tung oil their floors
because there is surprisingly very little info
on the world wide web.


Wednesday, November 15, 2017

quilt labels on memory lane


and since I'm taking it a bit easy today 
I decided a small trip down label memory lane might be fun.

Unless I make it into the back,
or tuck it into the binding
I pretty much always cut a piece of very lightweight batiste
the same size as the label
and sew around all four sides, right sides together.
I cut a slit in the batiste
and use that slit to turn the label right side out.
Then I press it well
so that you can't see any of the batiste, 
then glue baste in place on the quilt back
and hand-stitch. 
usually with invisible stitches,
but occasionally with big stitch quilting.

If I'm on top of my game and plan to tuck it into the binding,
I sew up 3 sides, 
and leave the side that will go in the binding 
for turning the label right side out
with no need for the slit in the back.

You can see though,
that I only had the foresight to do that
once.


made into the backing.
I was so tickled with how their wedding date turned out
 that I totally forgot to include
the name of the quilt,
and who made it
when I made the rest of the label.


This one for my niece's quilt was squeal worthy.
That tiny star!


I ordered embroidered labels from a friend


Here
we have another teeny tiny star label
 Which is one of my favorite quilts to use
and the most fun quilt to make.


I *think* this was my first label,
made for the quilt I made for my man 3 1/2 years ago.


Oh. Nope.
That wasn't my first label.
This was my first.
It was actually part of the back of the quilt.
But it wasn't actually finished in the Spring. oops.


This one is the label for my baby sister's quilt
(oh - do follow that link - the coupon code is still good!!)


A very simple 'slip in the binding' tag
a quilt I (quickly) made for a friend undergoing chemo.


Of course,
there are many times 
that I either chose not to,
or simply forgot
to make a label, too.

Here are three that I especially regret not adding labels to
the One Block Wonder quilt I made for my mom.

~
So - makers and quilt snugglers,
what's your take on labels??

Monday, November 6, 2017

the house, a week in review


Let's see.

Not a lot of progress on the house-building this week.

Monday and Tuesday all available minutes
were dedicated to costumes
and going to the Fall Festival at our church.

Wednesday was full of 
recovering from the Fall Festival
(so.many.people!)
and making food for 242
and then,
of course, actually attending 242.

Thursday,
you might remember

Thursday evening and Friday were spent 
testing various stains / stains with tung oil combos
(and running around town,
obtaining said stains)
and then doing several hours of research
regarding the use of stain 
under tung oil.
(It's trickier business than we'd initially realized,
but we are pretty set on the tung oil
as we feel like it will give us the look we are wanting
with maintenance that we can handle.)

Friday night,
Tyler and I started on the installation
in the upstairs bathroom.
(we also totally forgot about a birthday party
Jeremiah and Josiah were supposed to go to,
and felt like huge heels
 when we saw pictures of the party on FB Saturday night
😩)

methinks my tub protection isn't terribly effective all smashed into the tub, instead of covering it 😑

We babysat Hadley over the weekend
(she was soo much happier than last time - yay!)
so not much at all got done on the house,
but we did manage to finish the bathroom floor
(a little tip - if you have access to a saw,
don't follow the instructions
and cut the dang flooring with a utility knife.
Use the saw!)
and we started making stain.
(an outdoor kitchen would be very nice for this)

There are only 3 wood prints in a box of 7 planks - what the heck?!
I was expecting all 7 to be different, and even then, wasn't sure how I felt about it...
Tip #2 - install your fake wood before you install the real deal
Oh -  I also added one more coat of teak oil to the door
while Baby Girl and Pops were napping.
The 2 coats I had on it probably were good enough,
but now there is no doubt
that it will be protected for (at least) a few years.

Hopefully we will be able to make significantly better progress
this week,
because there is still soooo much to do
before we can move.
And we are all so ready to move!!

ah, nuts!


It's official;
we
are
 nuts.


Nuts for a dark walnut stain,
that is.


So
when we couldn't find a stain locally
that will work with the tung oil finish we want to use,
we set about making our own.


Have we reached a new level of crazy??

(I'll let ya know....)

Thursday, November 2, 2017

the door


Not long after we bought the door,
I bought a can of teak oil
to put on it.

And then the can sat in the wall in the garage
for well over a year.


We would take turns
remarking on how we really needed 
to oil the door,
but then we'd tackle some other project.

When Matt was here last week
he said, 
"You're really going to want to get that oil on the door before winter."

It wasn't as if I didn't already know we needed to do that,
but the way he said it,
I interpreted it as
'It would really be best for you 
if you got the door done soon'
and for goodness sake,
it'd been installed for over a year,
I knew I just needed to make 
'oil the darn door'
a priority.

entirely sanded, L side cleaned and oiled

One of the problems with the internet
is there is so much information.

That's a good thing, of course,
but I tend to over-research
and then convince myself that 'x' will be hard
or worse,
I'll screw it up
with my inexperience.

1 coat on everything

Matt assured me that nothing was permanent
and if I did
by some strange chance
really mess it up,
the door could be sanded 
and we could start over again.

So  - I checked the forecast,
and determined that Thursday was the day.
And because I am so good at forgetting things,
I set a reminder on my phone.

2nd (heavier) coat on L side

It took longer than I antcipated
(and my arm is absolutely killing me.
As in - I asked Tyler for 10 ibuprofen.
(I normally have to be forced to take them)
Don't worry - he only gave me 2)
but it wasn't hard,
and I didn't screw up at all.

First I sanded everything,
giving extra care to the areas the neighbors' dog had peed on,
then I wiped everything down with mineral spirits
and gave it 2 coats of teak oil
and now
we have a
 gorgeous
protected-from-the-elements door.

ta-da!

no sewing is happening,
but this is a major finish anyways,
so I'm linking up with the other finishers at Amanda Jean's